
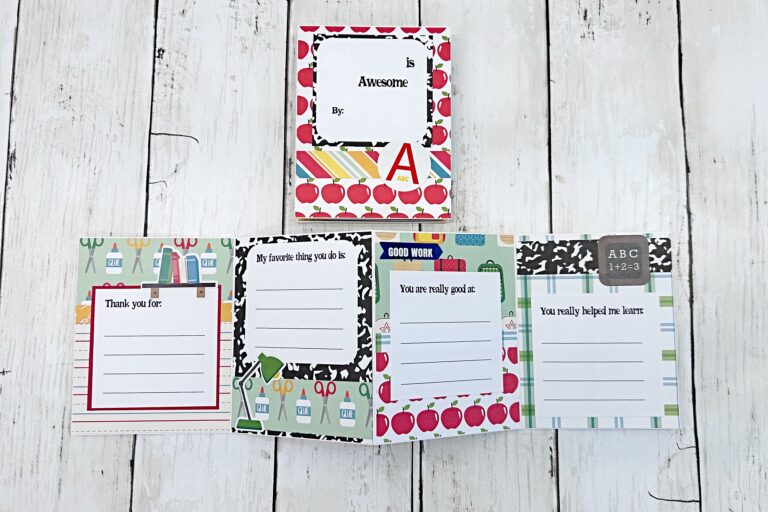
As I’m writing this post, the end of another school year is fast approaching! I used to make these fun accordion cards when my girls were in elementary school and I decided to bring them back. They are a fun way to get your child involved and provide a way to give a gift card to their teacher.
To make this accordion card you will need the following supplies:
- 1 sheet 8.5×11 cardstock
- strong adhesive
- paper trimmer
- scoring tool
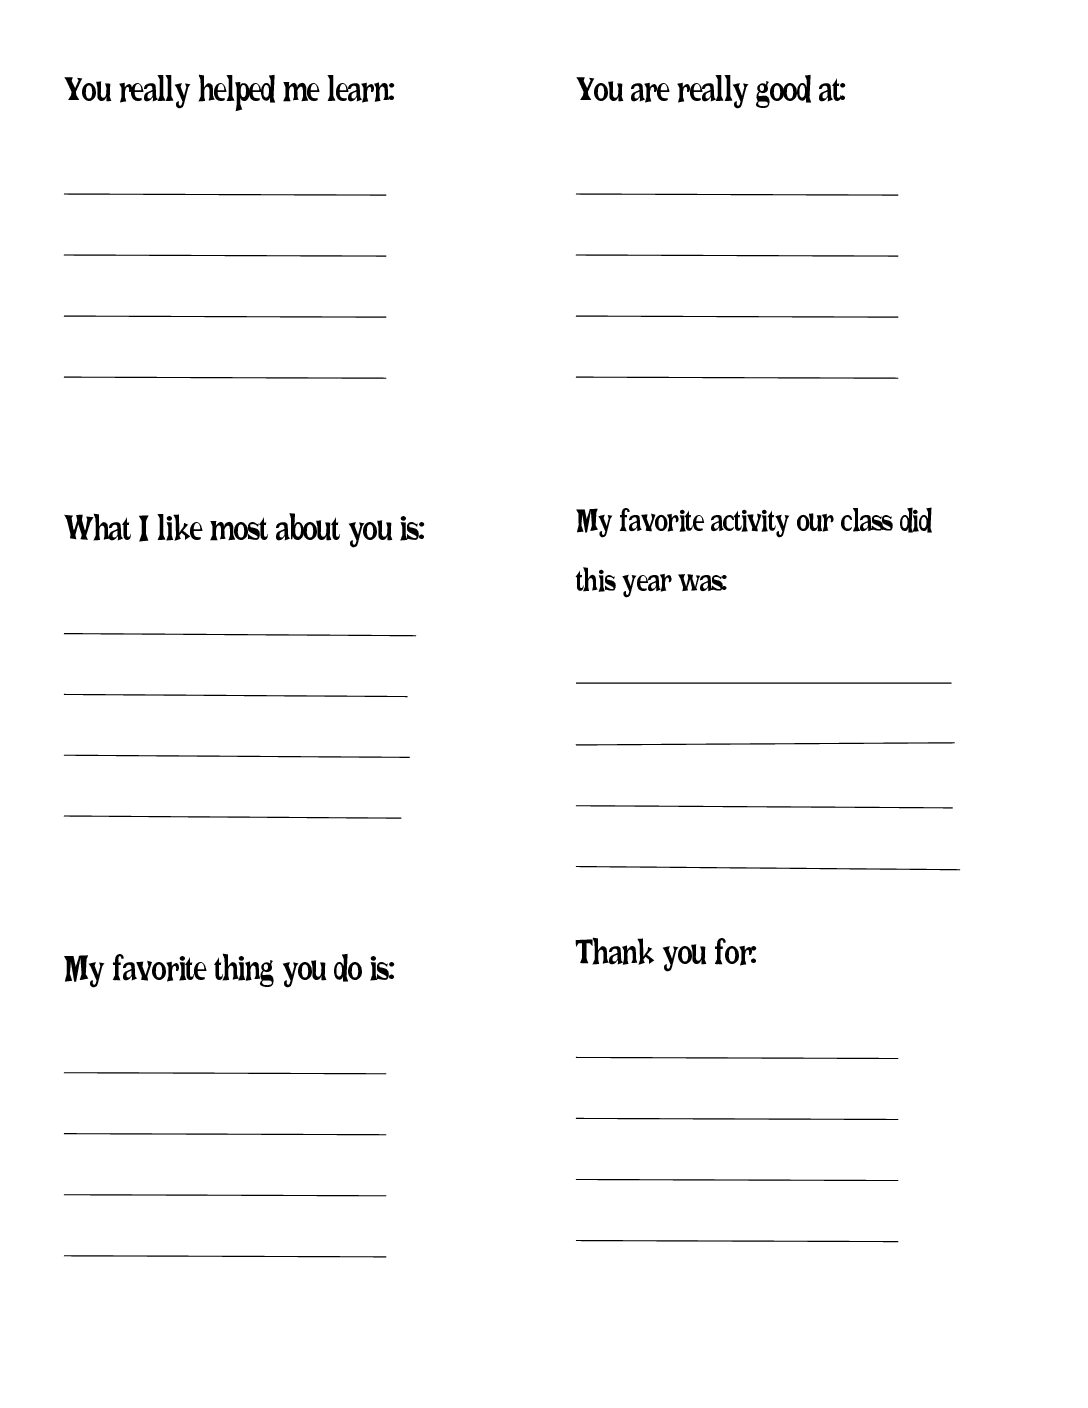
- free writing prompts printable
- patterned paper for covering the card base
- embellishments

For the base of the accordion card, you will need 2 strips of cardstock cut to:
- 1 at 5×11 inches
- 1 at 5×8 inches
I like to use THIS heavier cardstock to make sure it is sturdy and can stand up on it’s own.

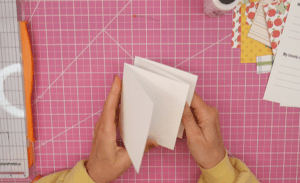
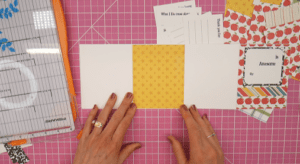
Once your strips are cut, you’ll need to score every 4 inches on the long end. Then fold. On the longer strip, you should end up with a valley and then a mountain fold (the first folding away from you and the next folding towards you).
Which direction you fold the shorter strip, doesn’t matter.
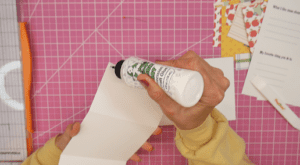
Next you need to connect the 2 strips to make 1 continuous strip. Adhere one side of the shorter strip to the smaller end of the longer strip. I recommend a stronger adhesive for this, to make sure it stays together. I use BEARLY ARTS glue but you can also use a stronger double sided tape such as this ONE from Amazon.
Now that the accordion base is built, the fun part of decorating can begin! Determine which end you want to be the front of the card.
Cut your page mats to 3 7/8″ by 4 7/8″. This will leave just a small margin around your patterned paper and ensure that the patterned paper doesn’t cover the folds.
You will need 8 page mats to cover the entire card.
You can trim the prompts down to whatever size you like based on the amount of white margin you want around the words and lines. They just need to fit within your 3 7/8″ page mat. You can also mat the prompts on cardstock to help them stand out. There are 7 prompts plus the title. So you’ll have 1 less prompt than you have number of pages. This extra page is for your gift card pocket.
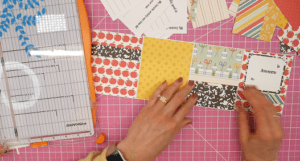
For the gift card pocket, you’ll need a piece of patterned paper or cardstock cut to 2 7/8″ x 3 7/8″.
You can use a small circle punch to create a notch in the top of the pocket.
Adhere the pocket to the page of your choice, only gluing down the bottom and sides.
At this point, you can decorate the card as you like. I used a combination of stickers and paper scraps to embellish my cards.
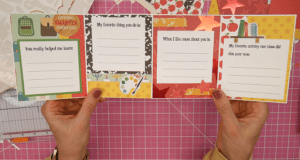
Now, let your child have some fun and fill out all the prompts about their teacher!
I hope you found this tutorial helpful!
If you share your card on social media, I’d love it if you’d tag me @bourboncreekcrafts so that I can see what you made!
Happy Crafting!