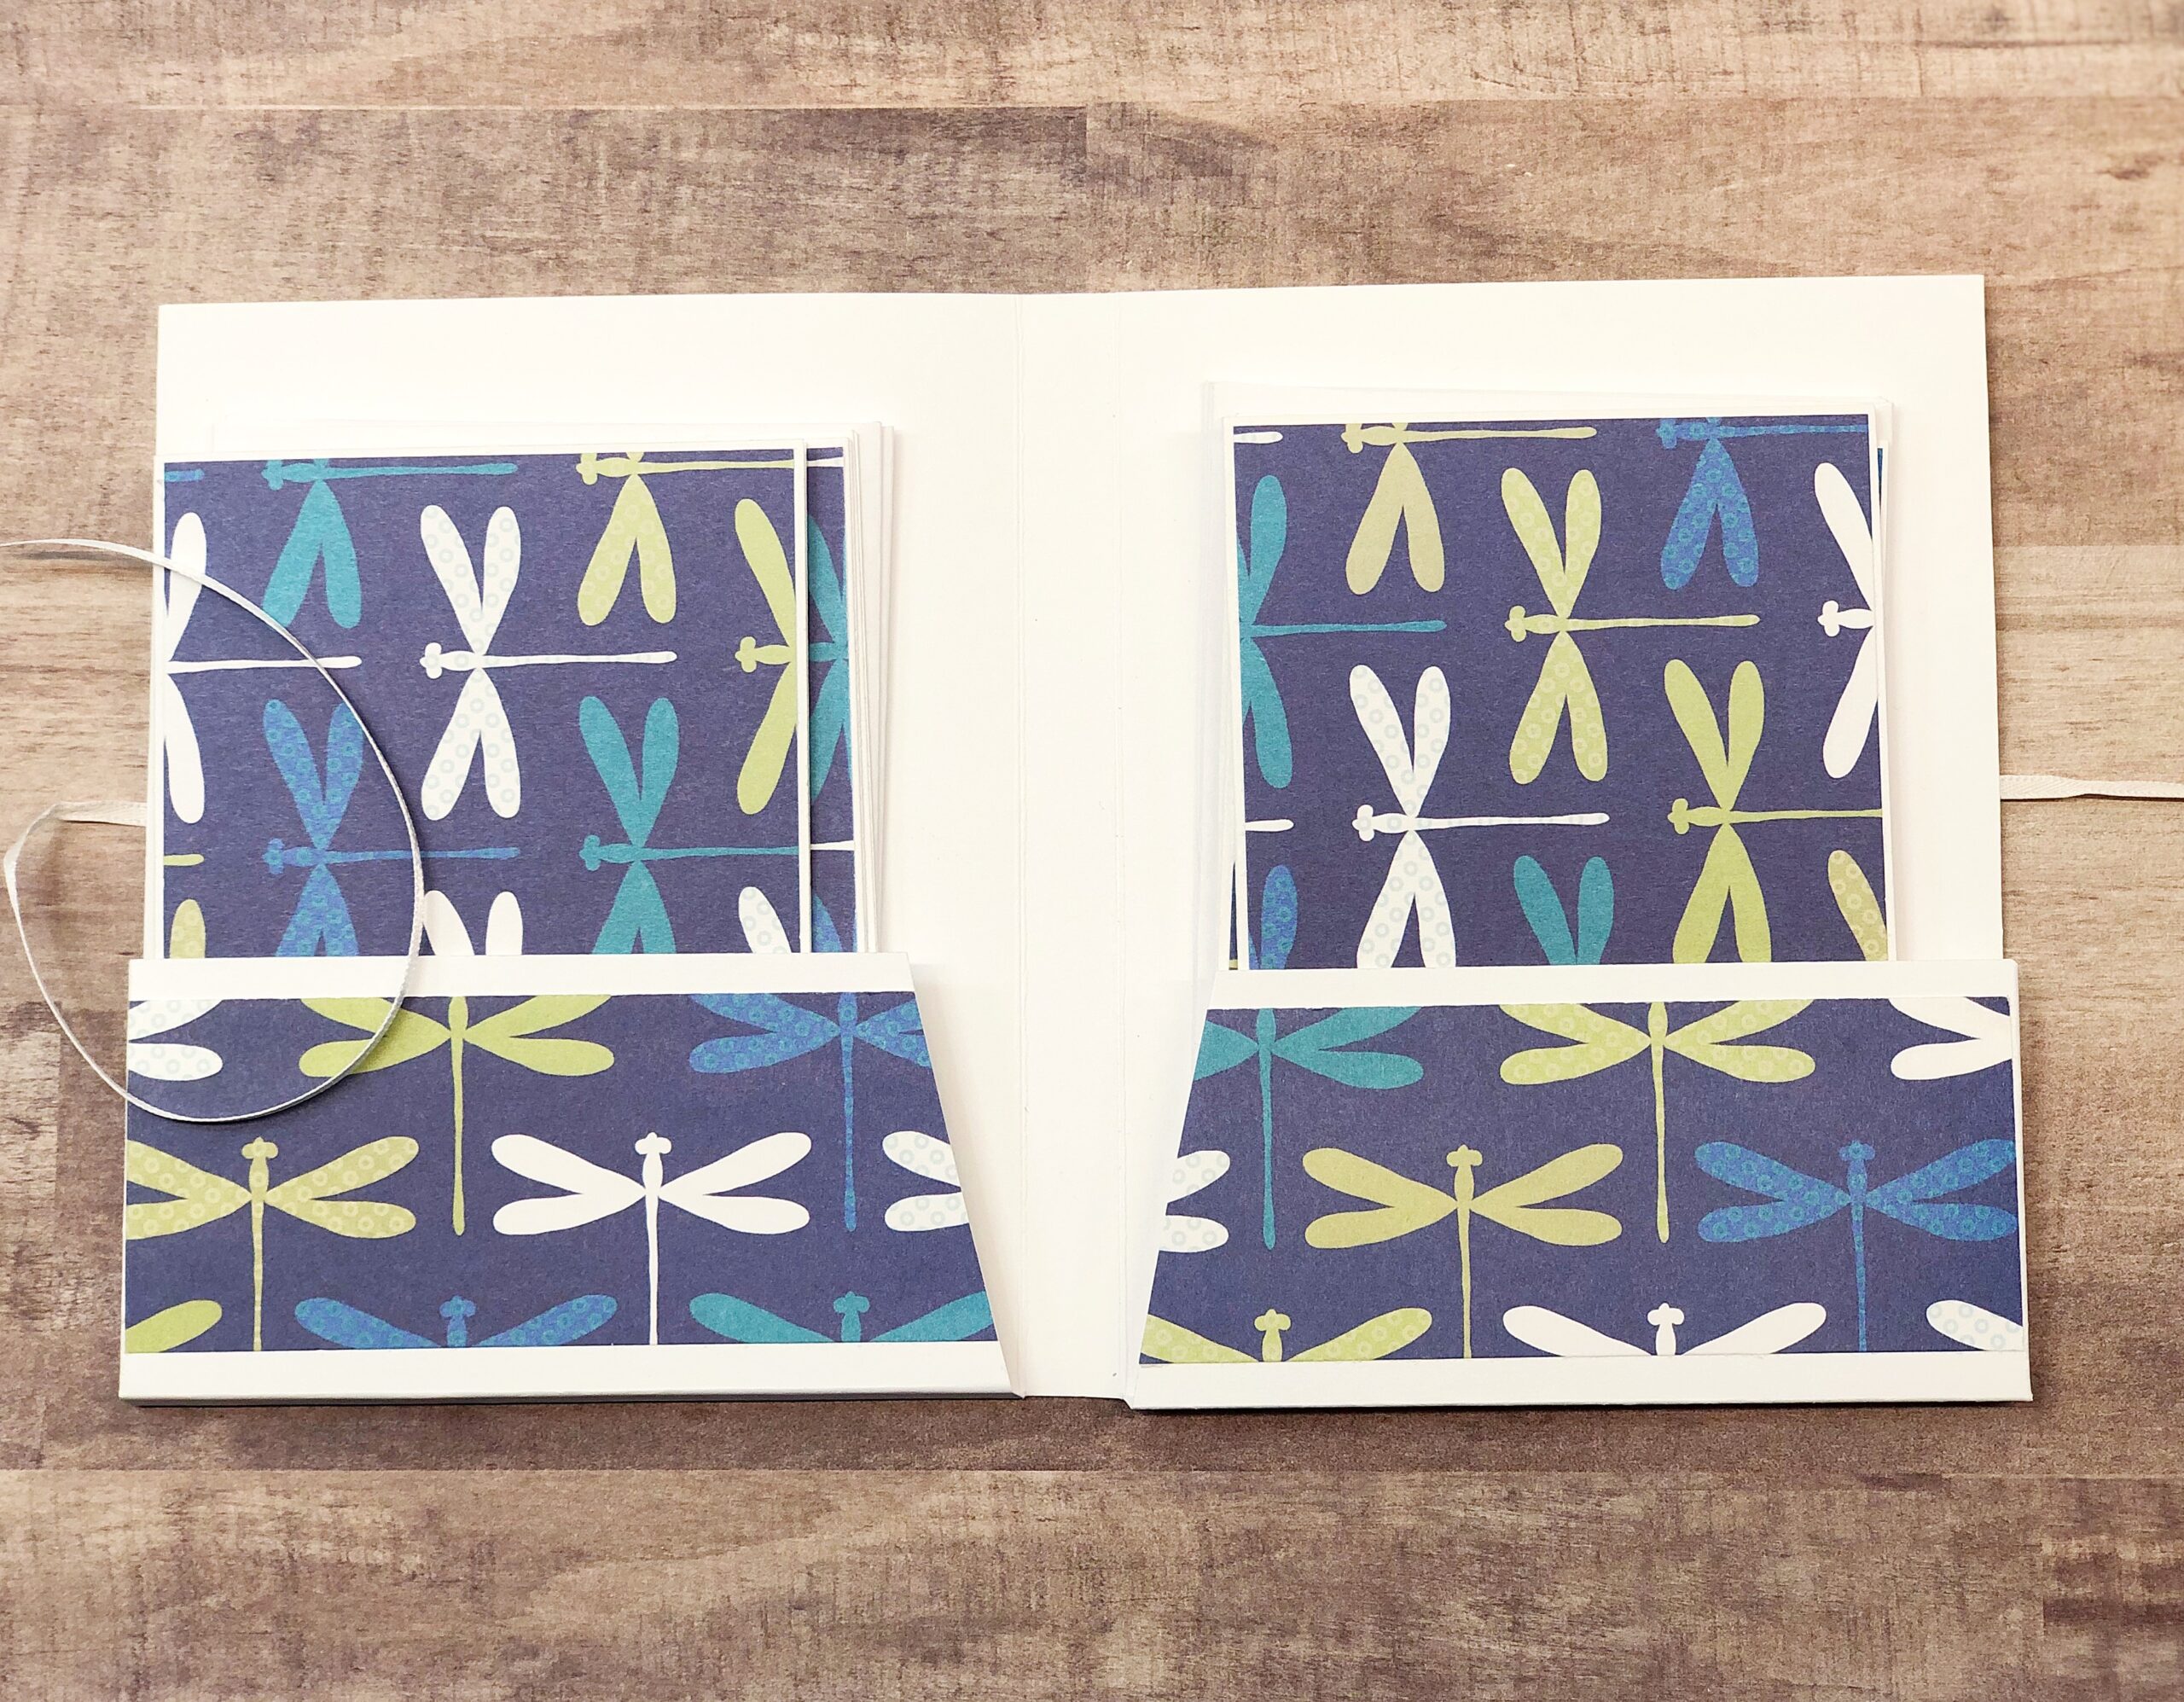
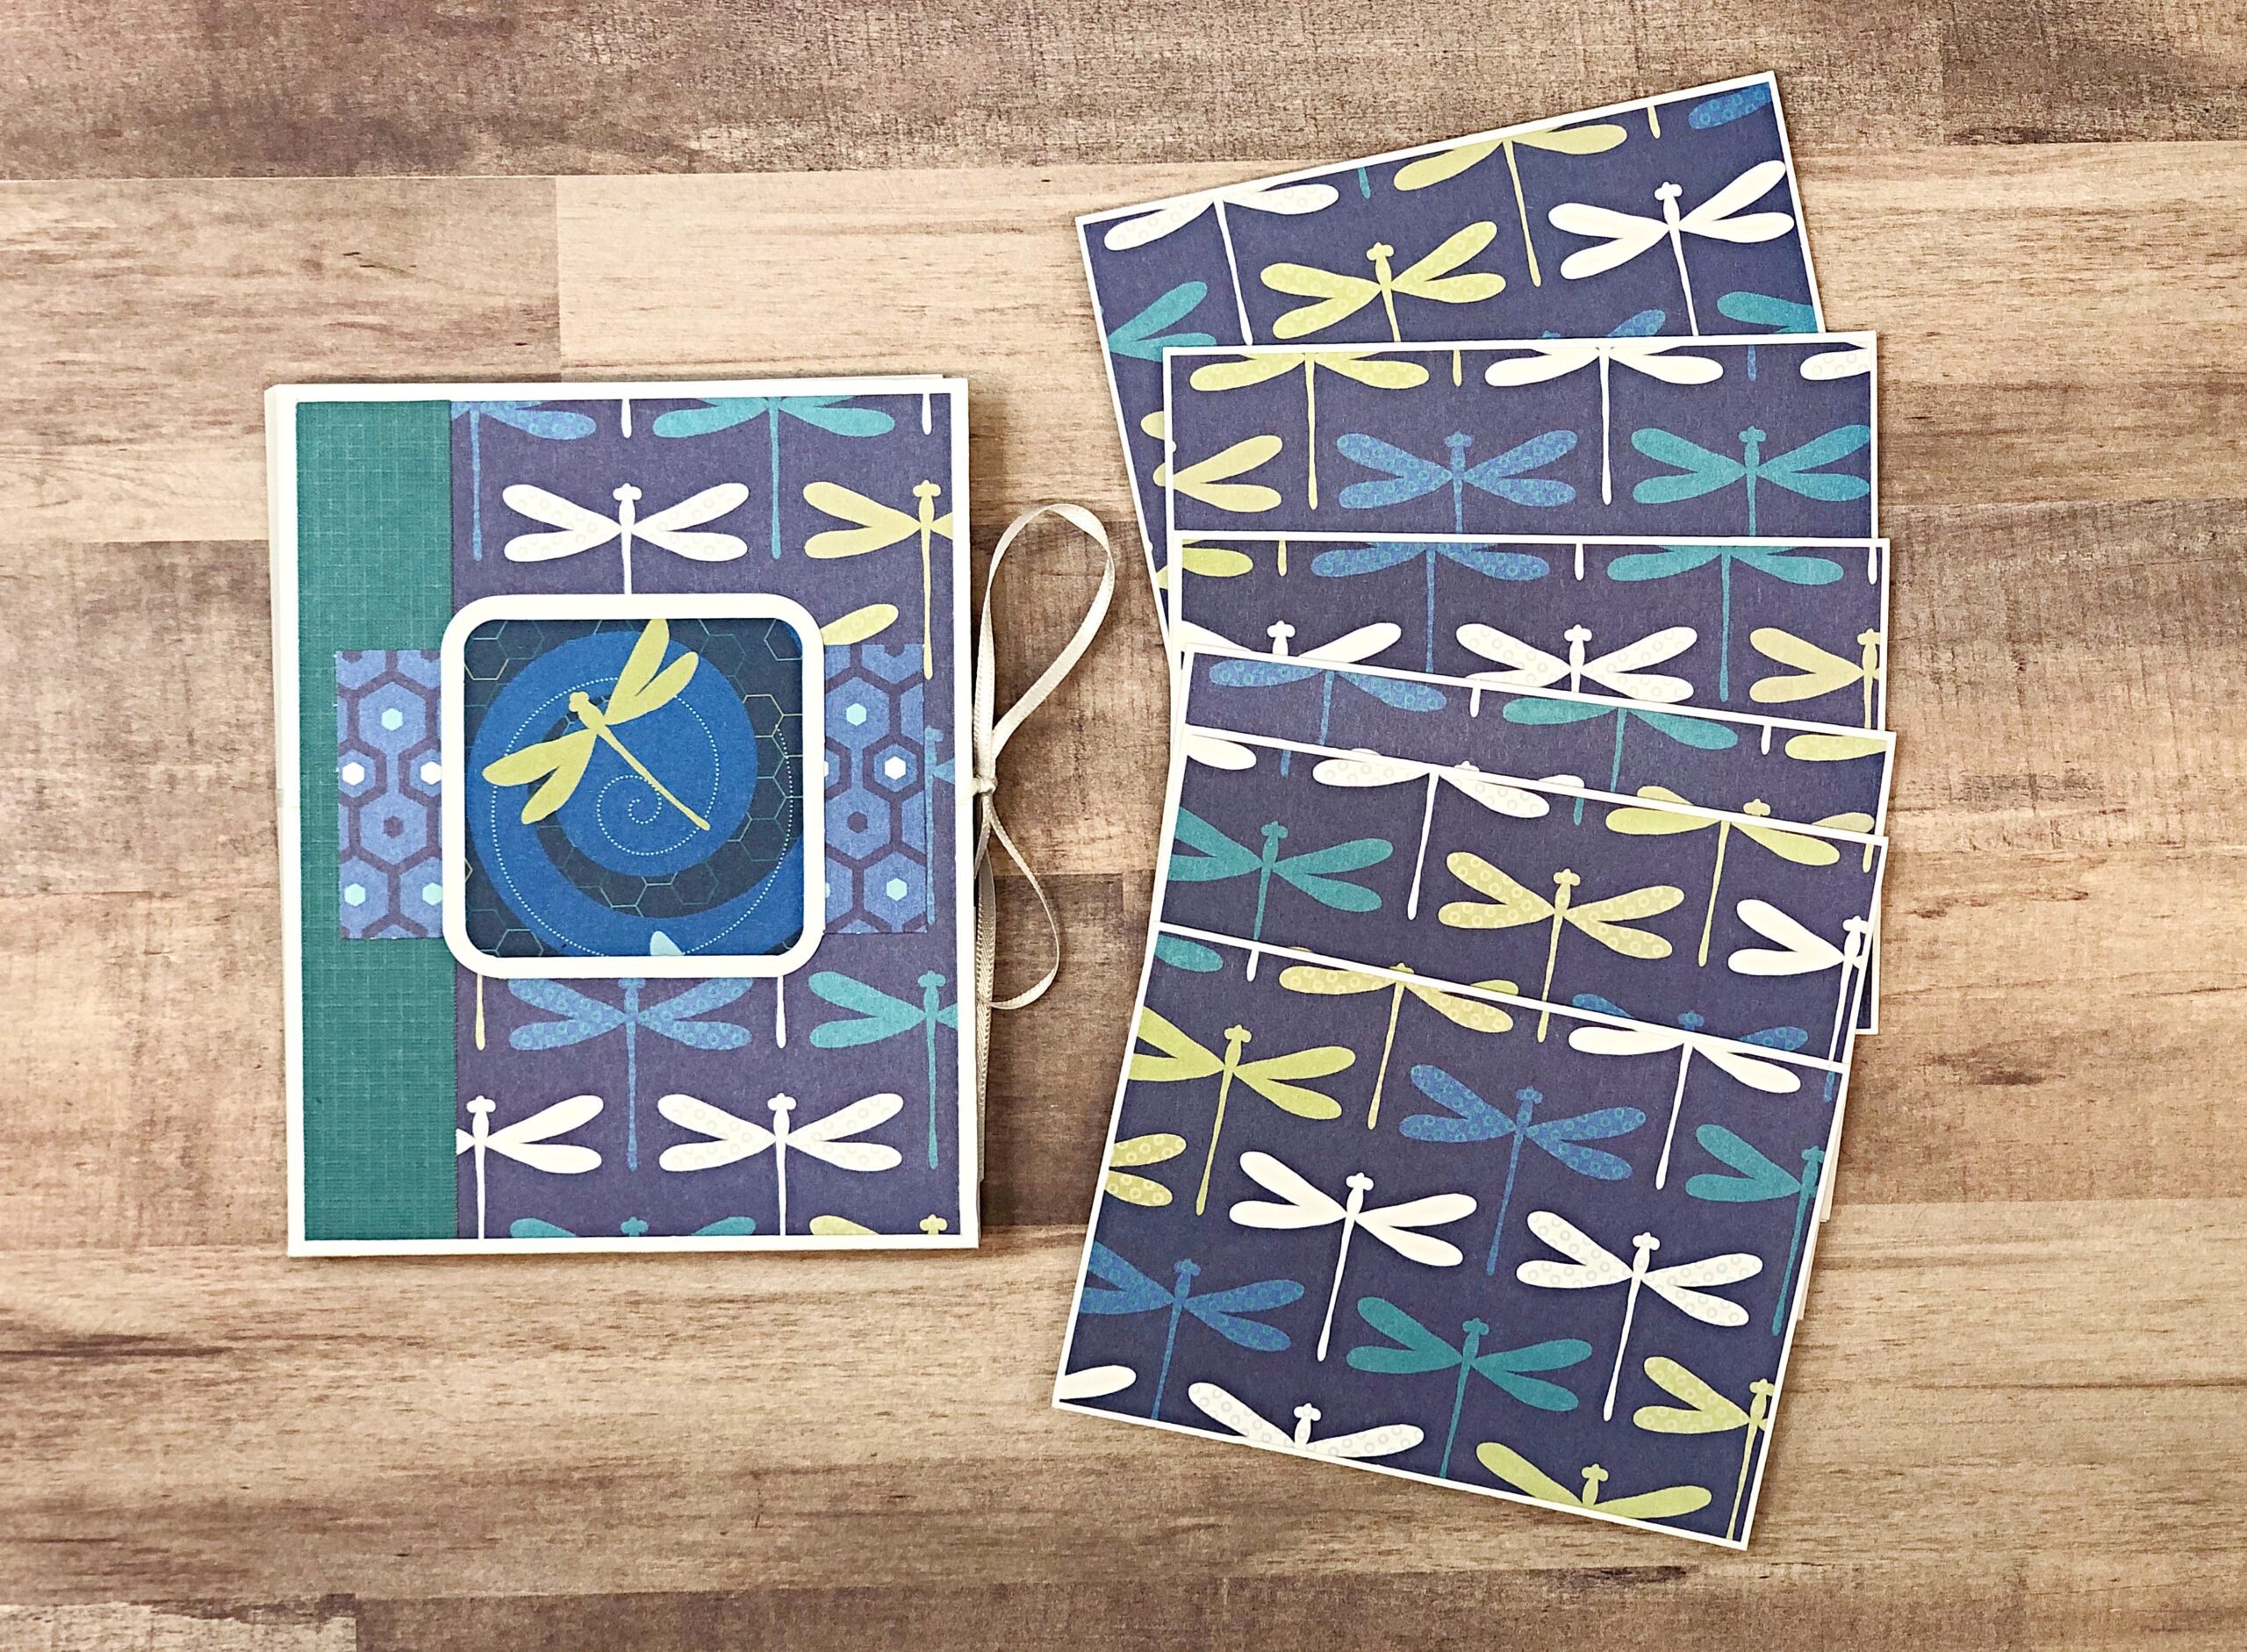
Somehow last year, I ended up with a whole big box of the 3.5×5 inch card envelopes. So, I’m always looking for ways to use them up.
I have made note card holders before, but I wanted to make one to fit my 3.5×5 inch cards. So I tweaked my original design to size it down to fit this new size.
If you would like to follow along with my process, you can view it HERE.
To make my note cards, I trimmed cardstock down to 5×7 inches and folded them in half so they make a 3.5×5 inch note card. I trimmed my patterned paper to 4 7/8 x 3 3/8 inches so that it left an 1/8 inch border around my patterned paper.

Next, for the holder, I started with an 8.5×11 piece of 110 lb heavy duty cardstock.
Score at 5 ¾ and 6 ¼ inches. This creates the spine for the holder.
Turn the paper 90 degrees and score at 6 and 6 ¼ inches. This will make the pockets at the bottom.
Turn the paper back to the original scoring position and score at 3/8 inch in from both sides.
 Trim this last scored section down to the pocket score lines at the bottom. We just needed the extra width at the bottom to be able to create the pockets so we can trim off the rest. Do this step to both sides.
At this point, I chose to decorate my holder before I glued the pockets in. Decorating it now allows you to have it lay flat and makes it easier to decorate
If you are going to use a ribbon closure, add the ribbon across the front and back of the holder before you add any patterned paper or other decorations.
Once you are ready to create your pockets on the inside of the holder, you will just add glue to the very outside scored portion. This will fold in and get glued to the cover of the holder
 That’s all there is to it! I believe these would make great gifts for Mother’s Day or teacher appreciation and they would be good craft fair items to sell.

If you’d like to see a version of this for larger note cards, you can see my tutorial HERE.

 Next, from the bottom of the holder, trim at an angle up to the 6 inch score line. This will allow you to fold your pockets up without the spine bunching up.Burnish all of your score lines.