I’m working on using up the Jungle Safari collection from Echo Park and thought this paper would make some super cute water bottle tags!

These tags can be made easily with 6×6 paper as well as 12×12. They make fun teacher appreciation gifts, gifts for friends or kids and party favors. You could make them without the pocket as well.
HERE is my tutorial video, if you’d rather watch instead.

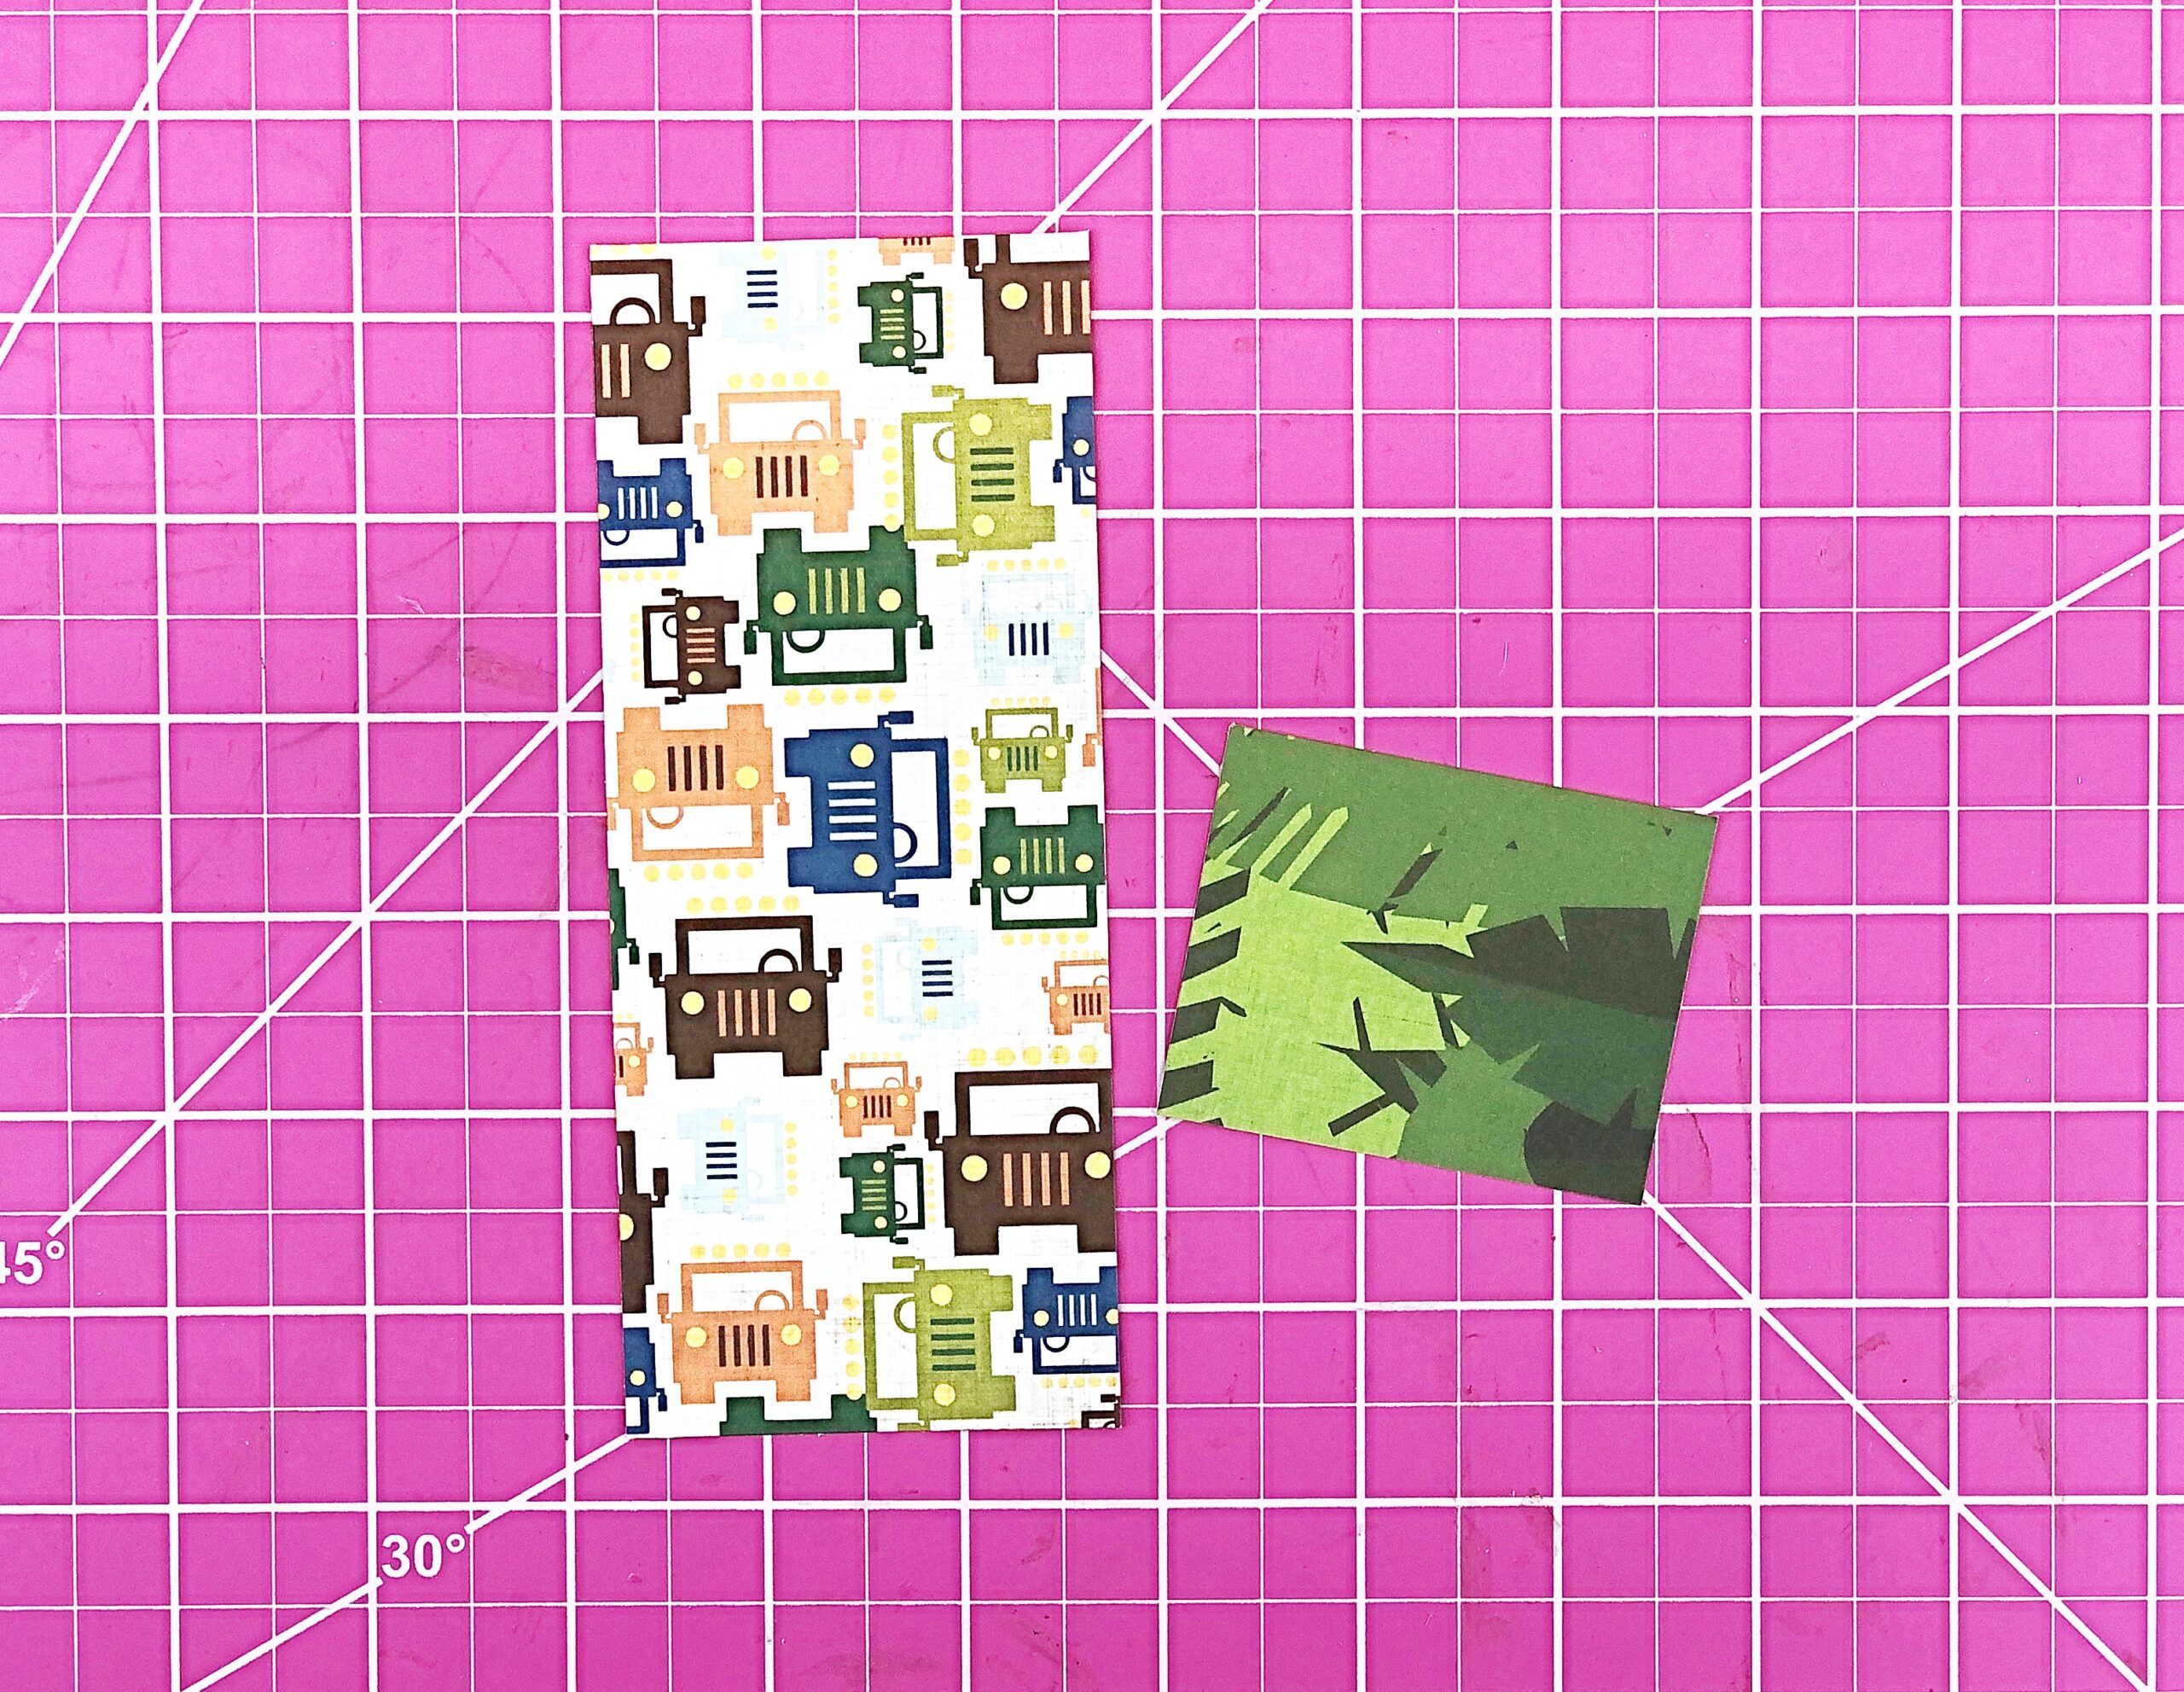
To start, you’ll need to pieces of paper – one 2.5 by 6 inches and one 2.5 by 2 inches. The larger piece is your tag and the smaller piece creates the pocket on the front.


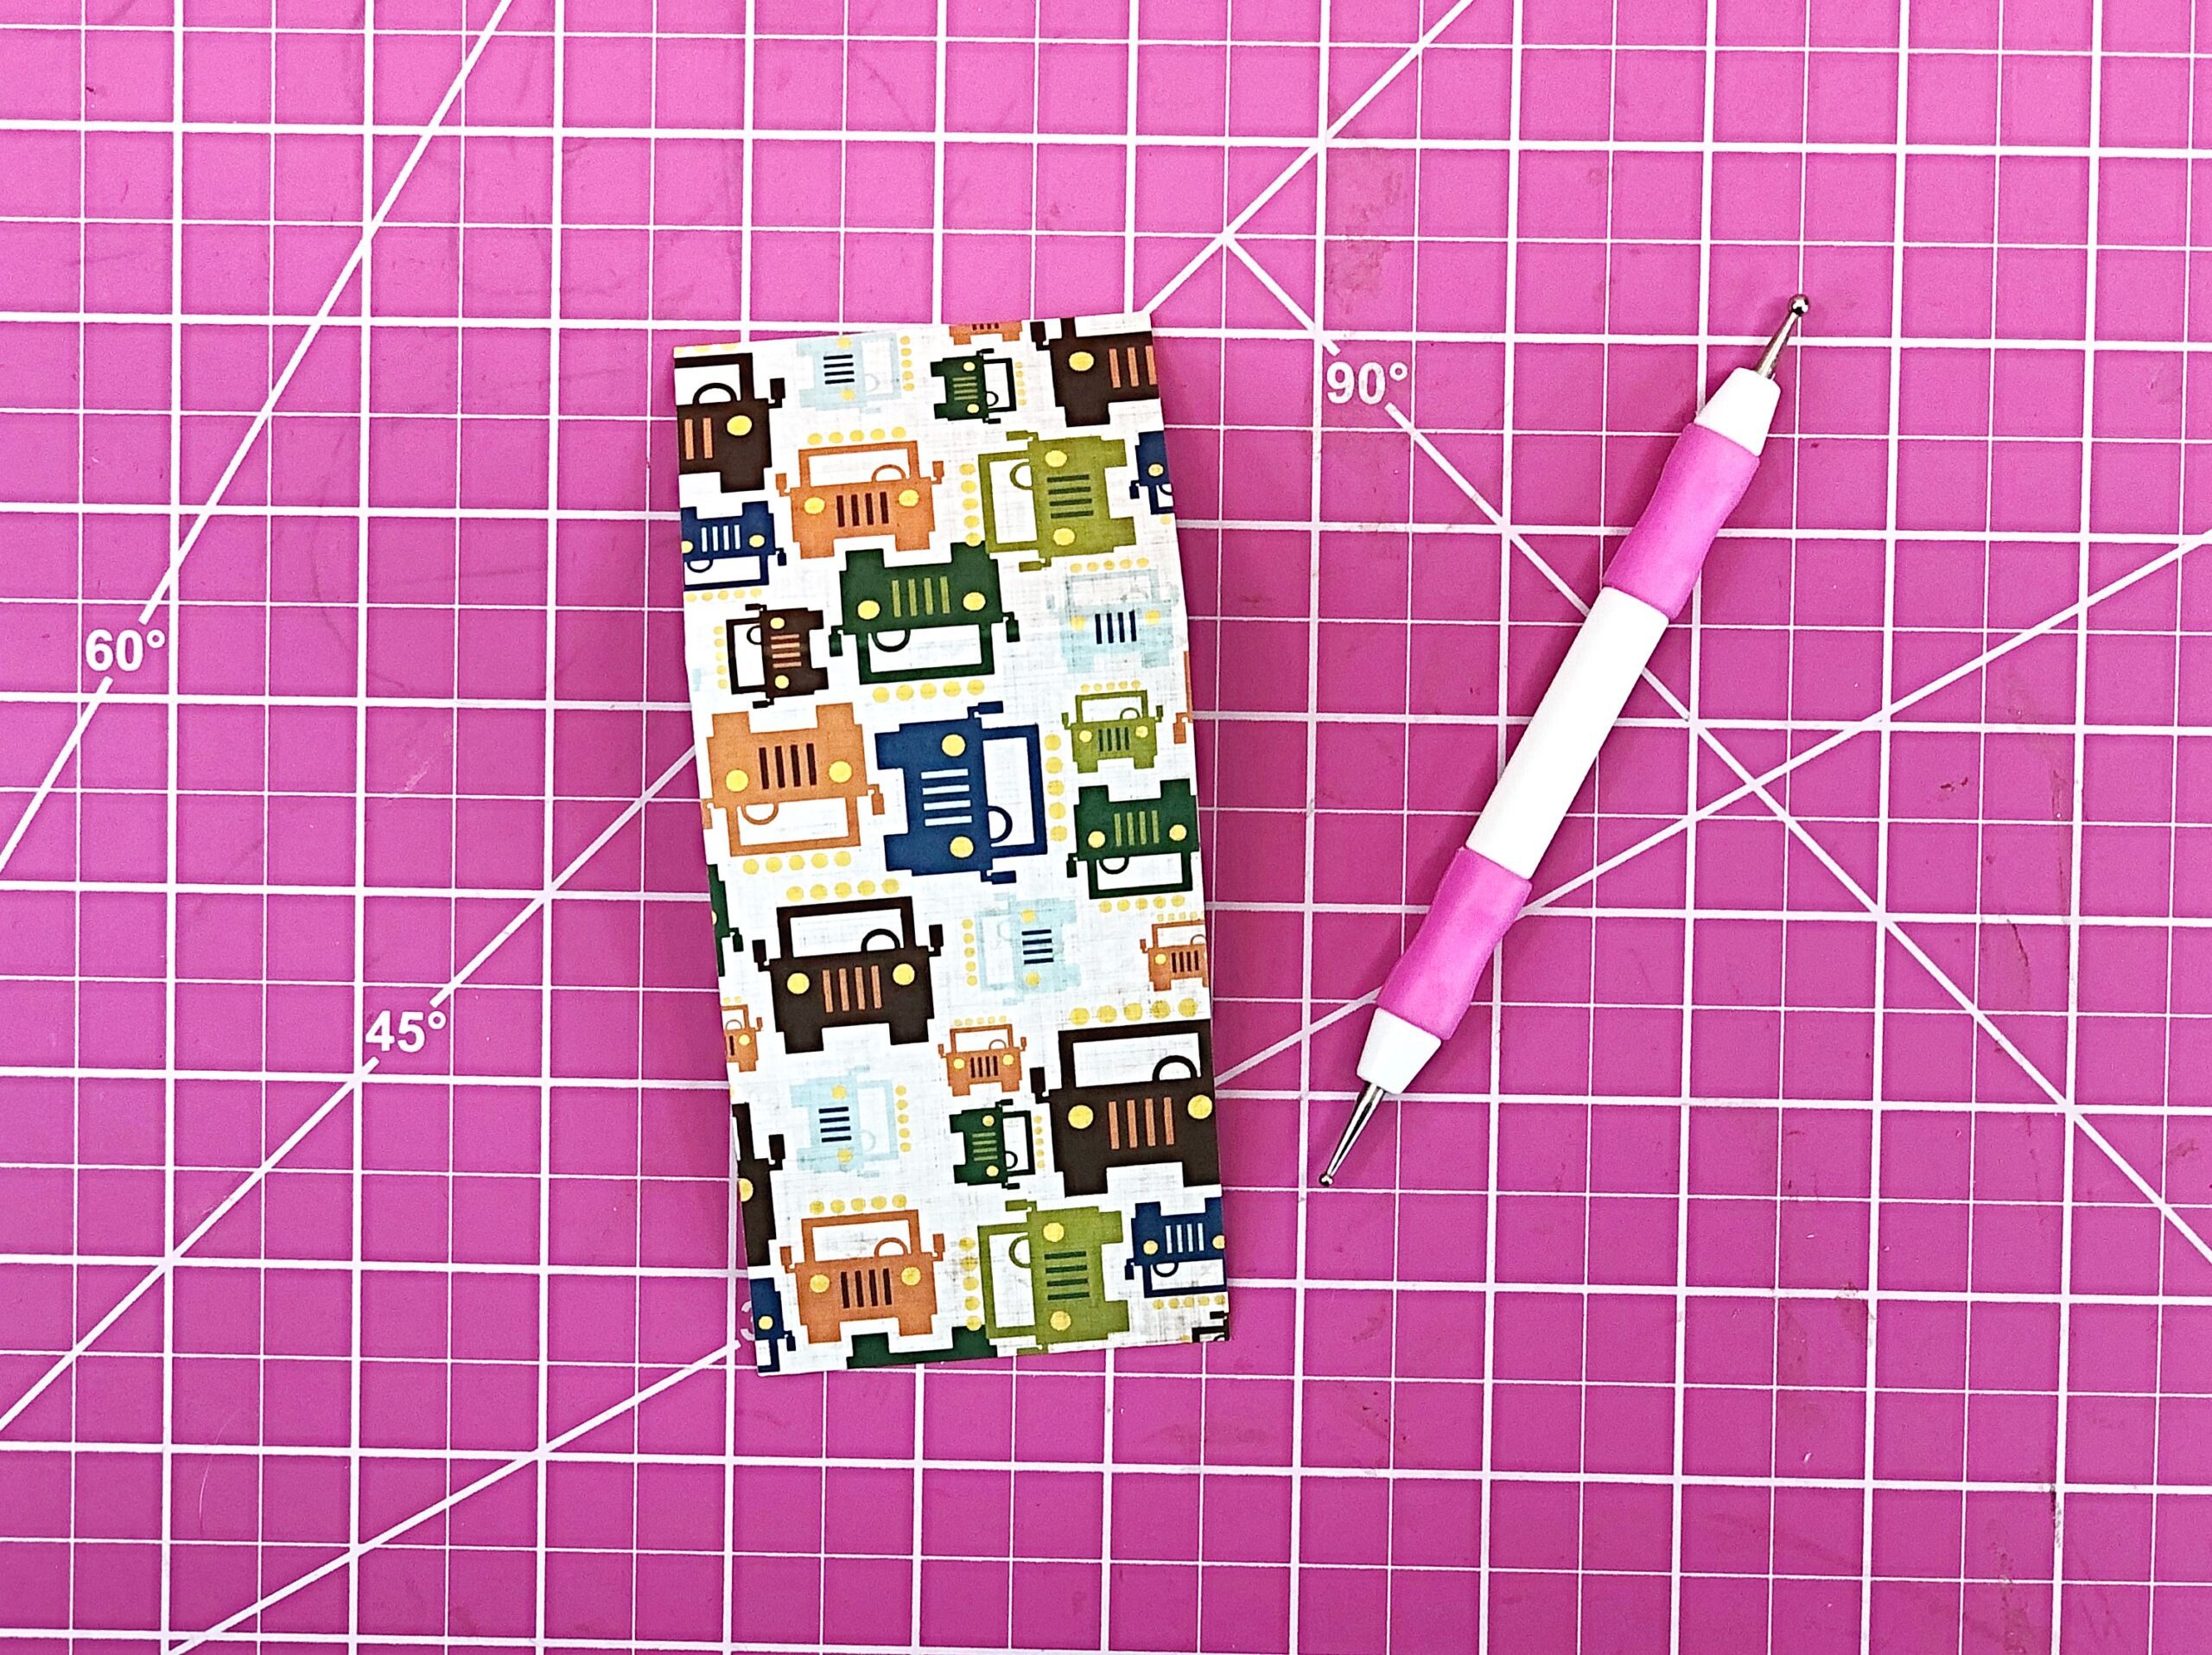
Next you’ll score your tag at 2 inches down from the top. This fold allows the tag to hang nicer on your bottle.

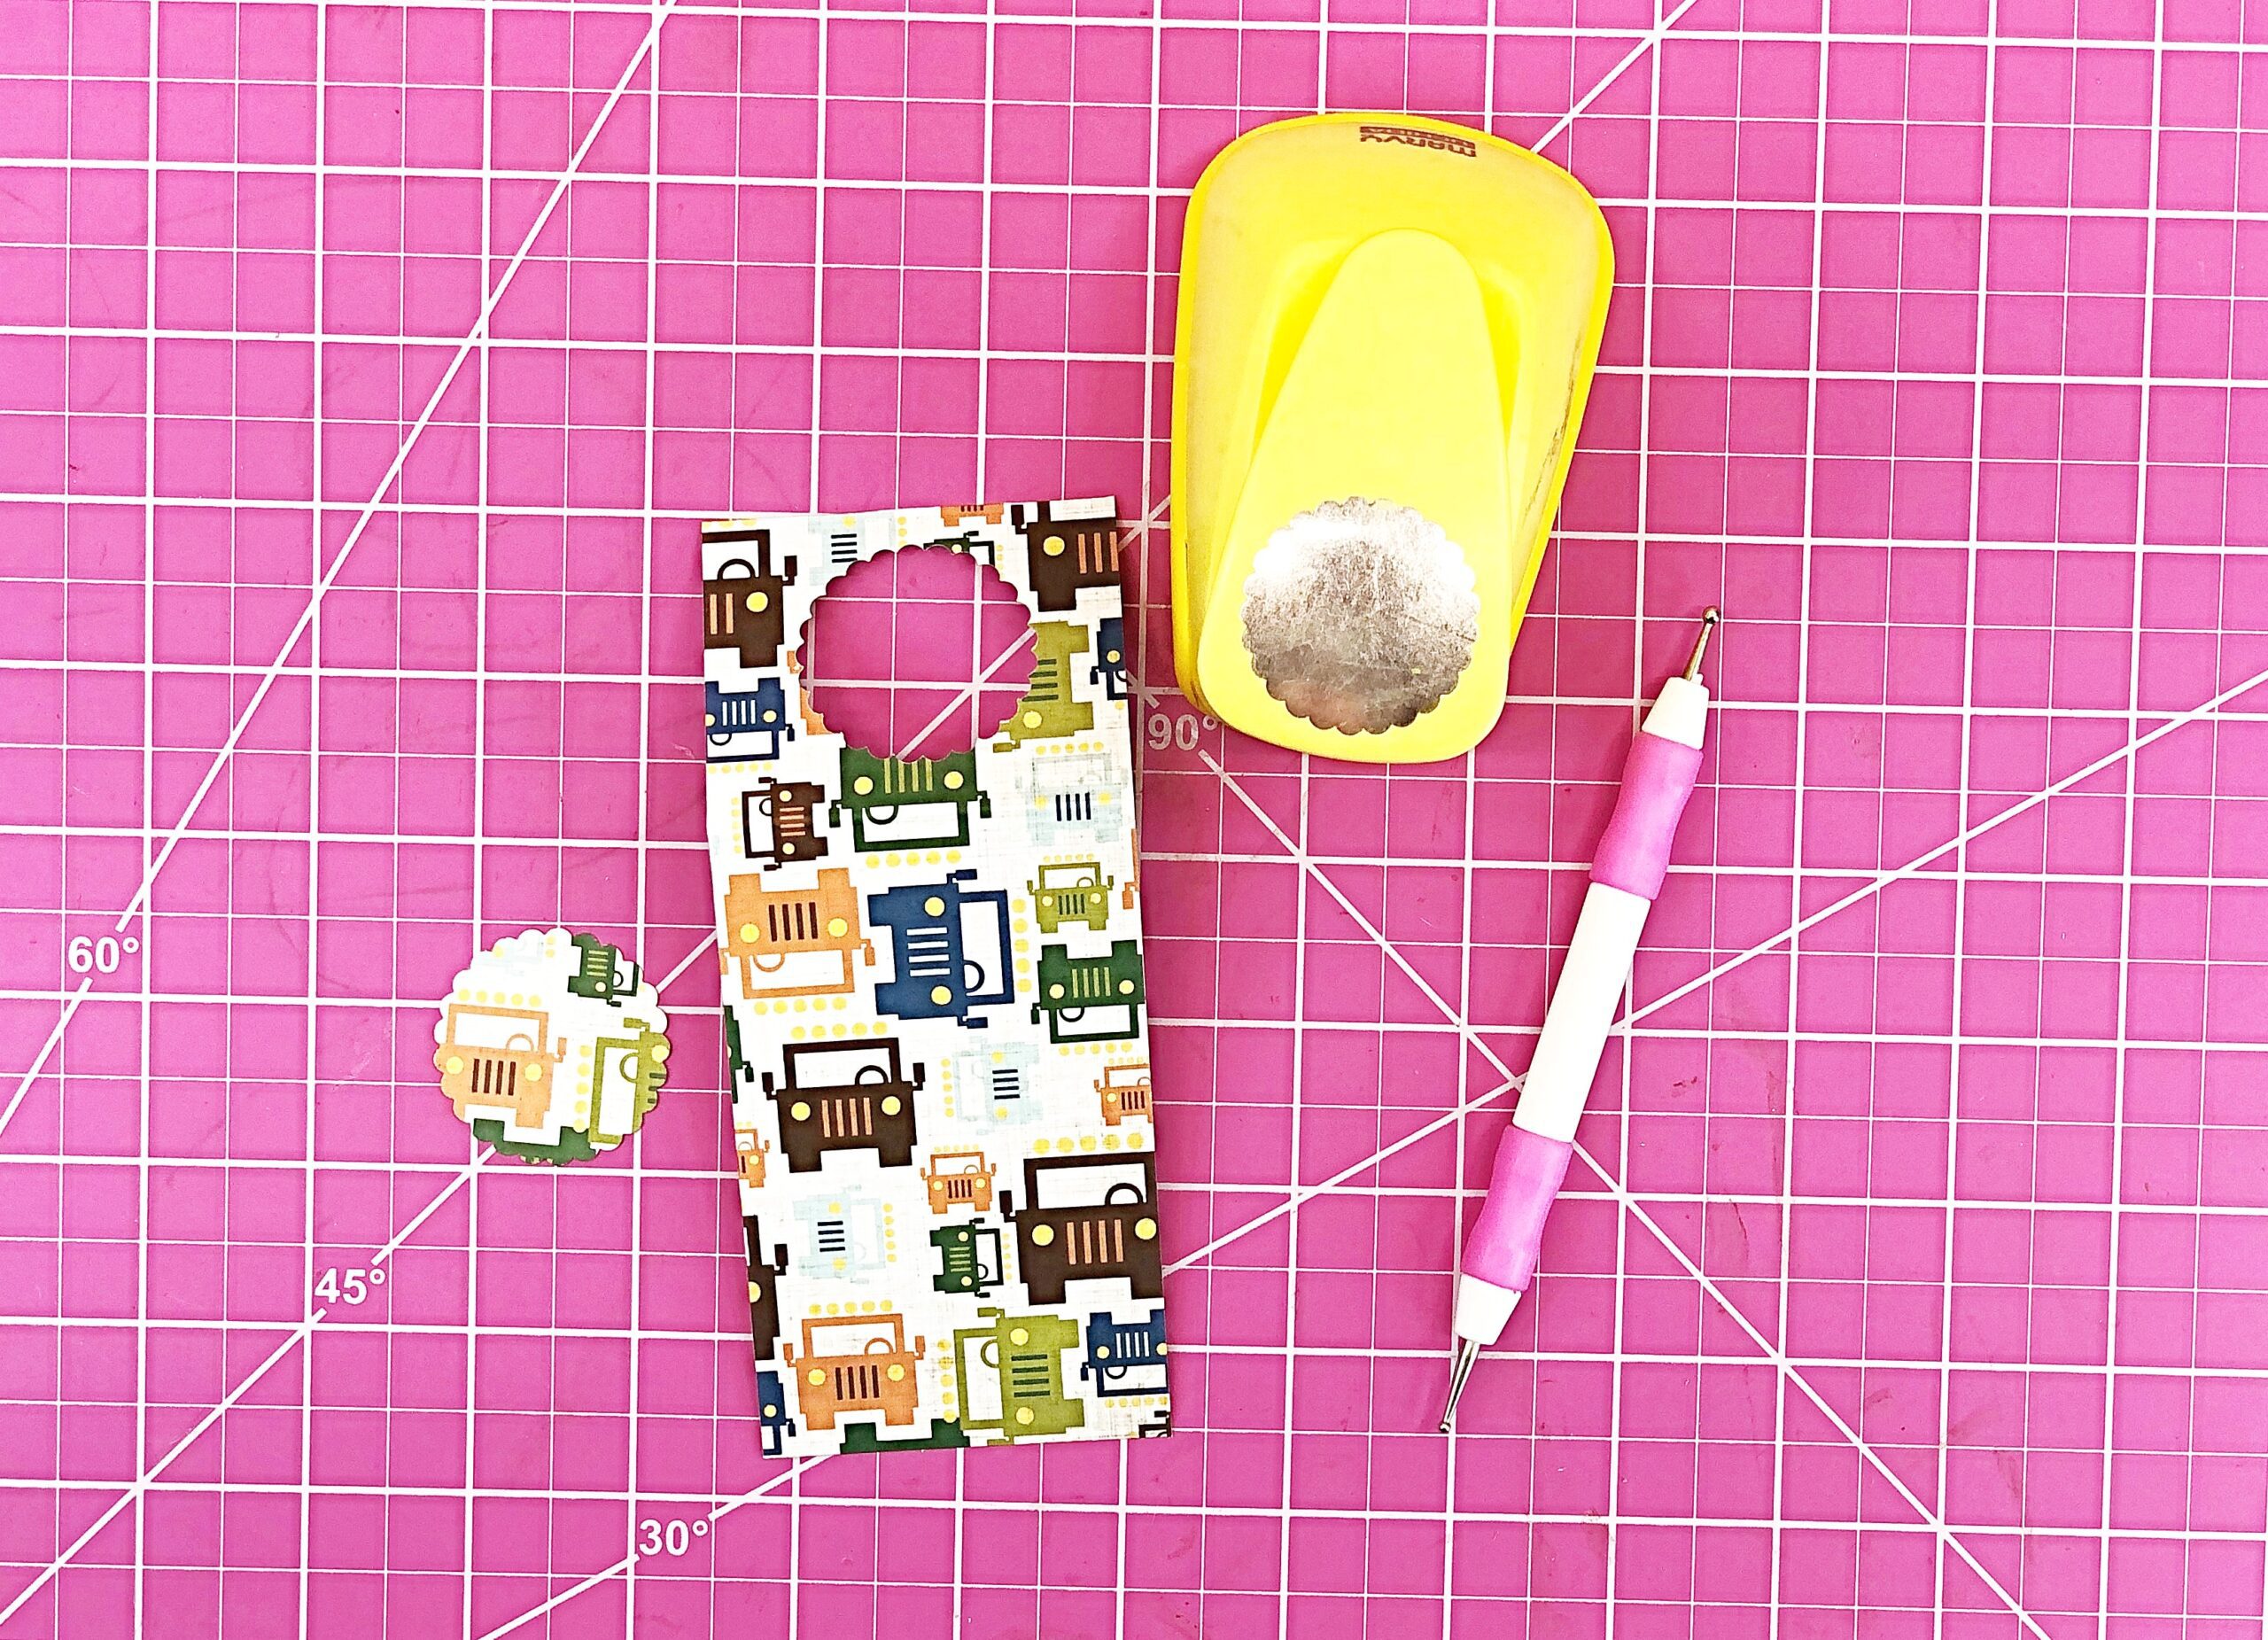
You’ll need to punch at hole in the top 2 inch section of your tag. I used a 2 inch scalloped circle punch. I’d say any type of circle punch between 1.5 and 2 inches would work. If you go bigger than 2 inches, you risk the whole being bigger than your bottle and sliding down.
I just centered my punch on that top section as best I could. I have used the circle insides as decoration on the tags before, so keep that in mind, especially if you are using double sided paper or multiple patterns in your tags.

To add your pocket, glue along the 2 sides and bottom of your 2.5 by 2 inch strip of paper and adhere it to the bottom of your tag. I find that wet glue works best for this because it makes for a cleaner and stronger hold on the pocket.
To add your pocket, glue along the 2 sides and bottom of your 2.5 by 2 inch strip of paper and adhere it to the bottom of your tag. I find that wet glue works best for this because it makes for a cleaner and stronger hold on the pocket.

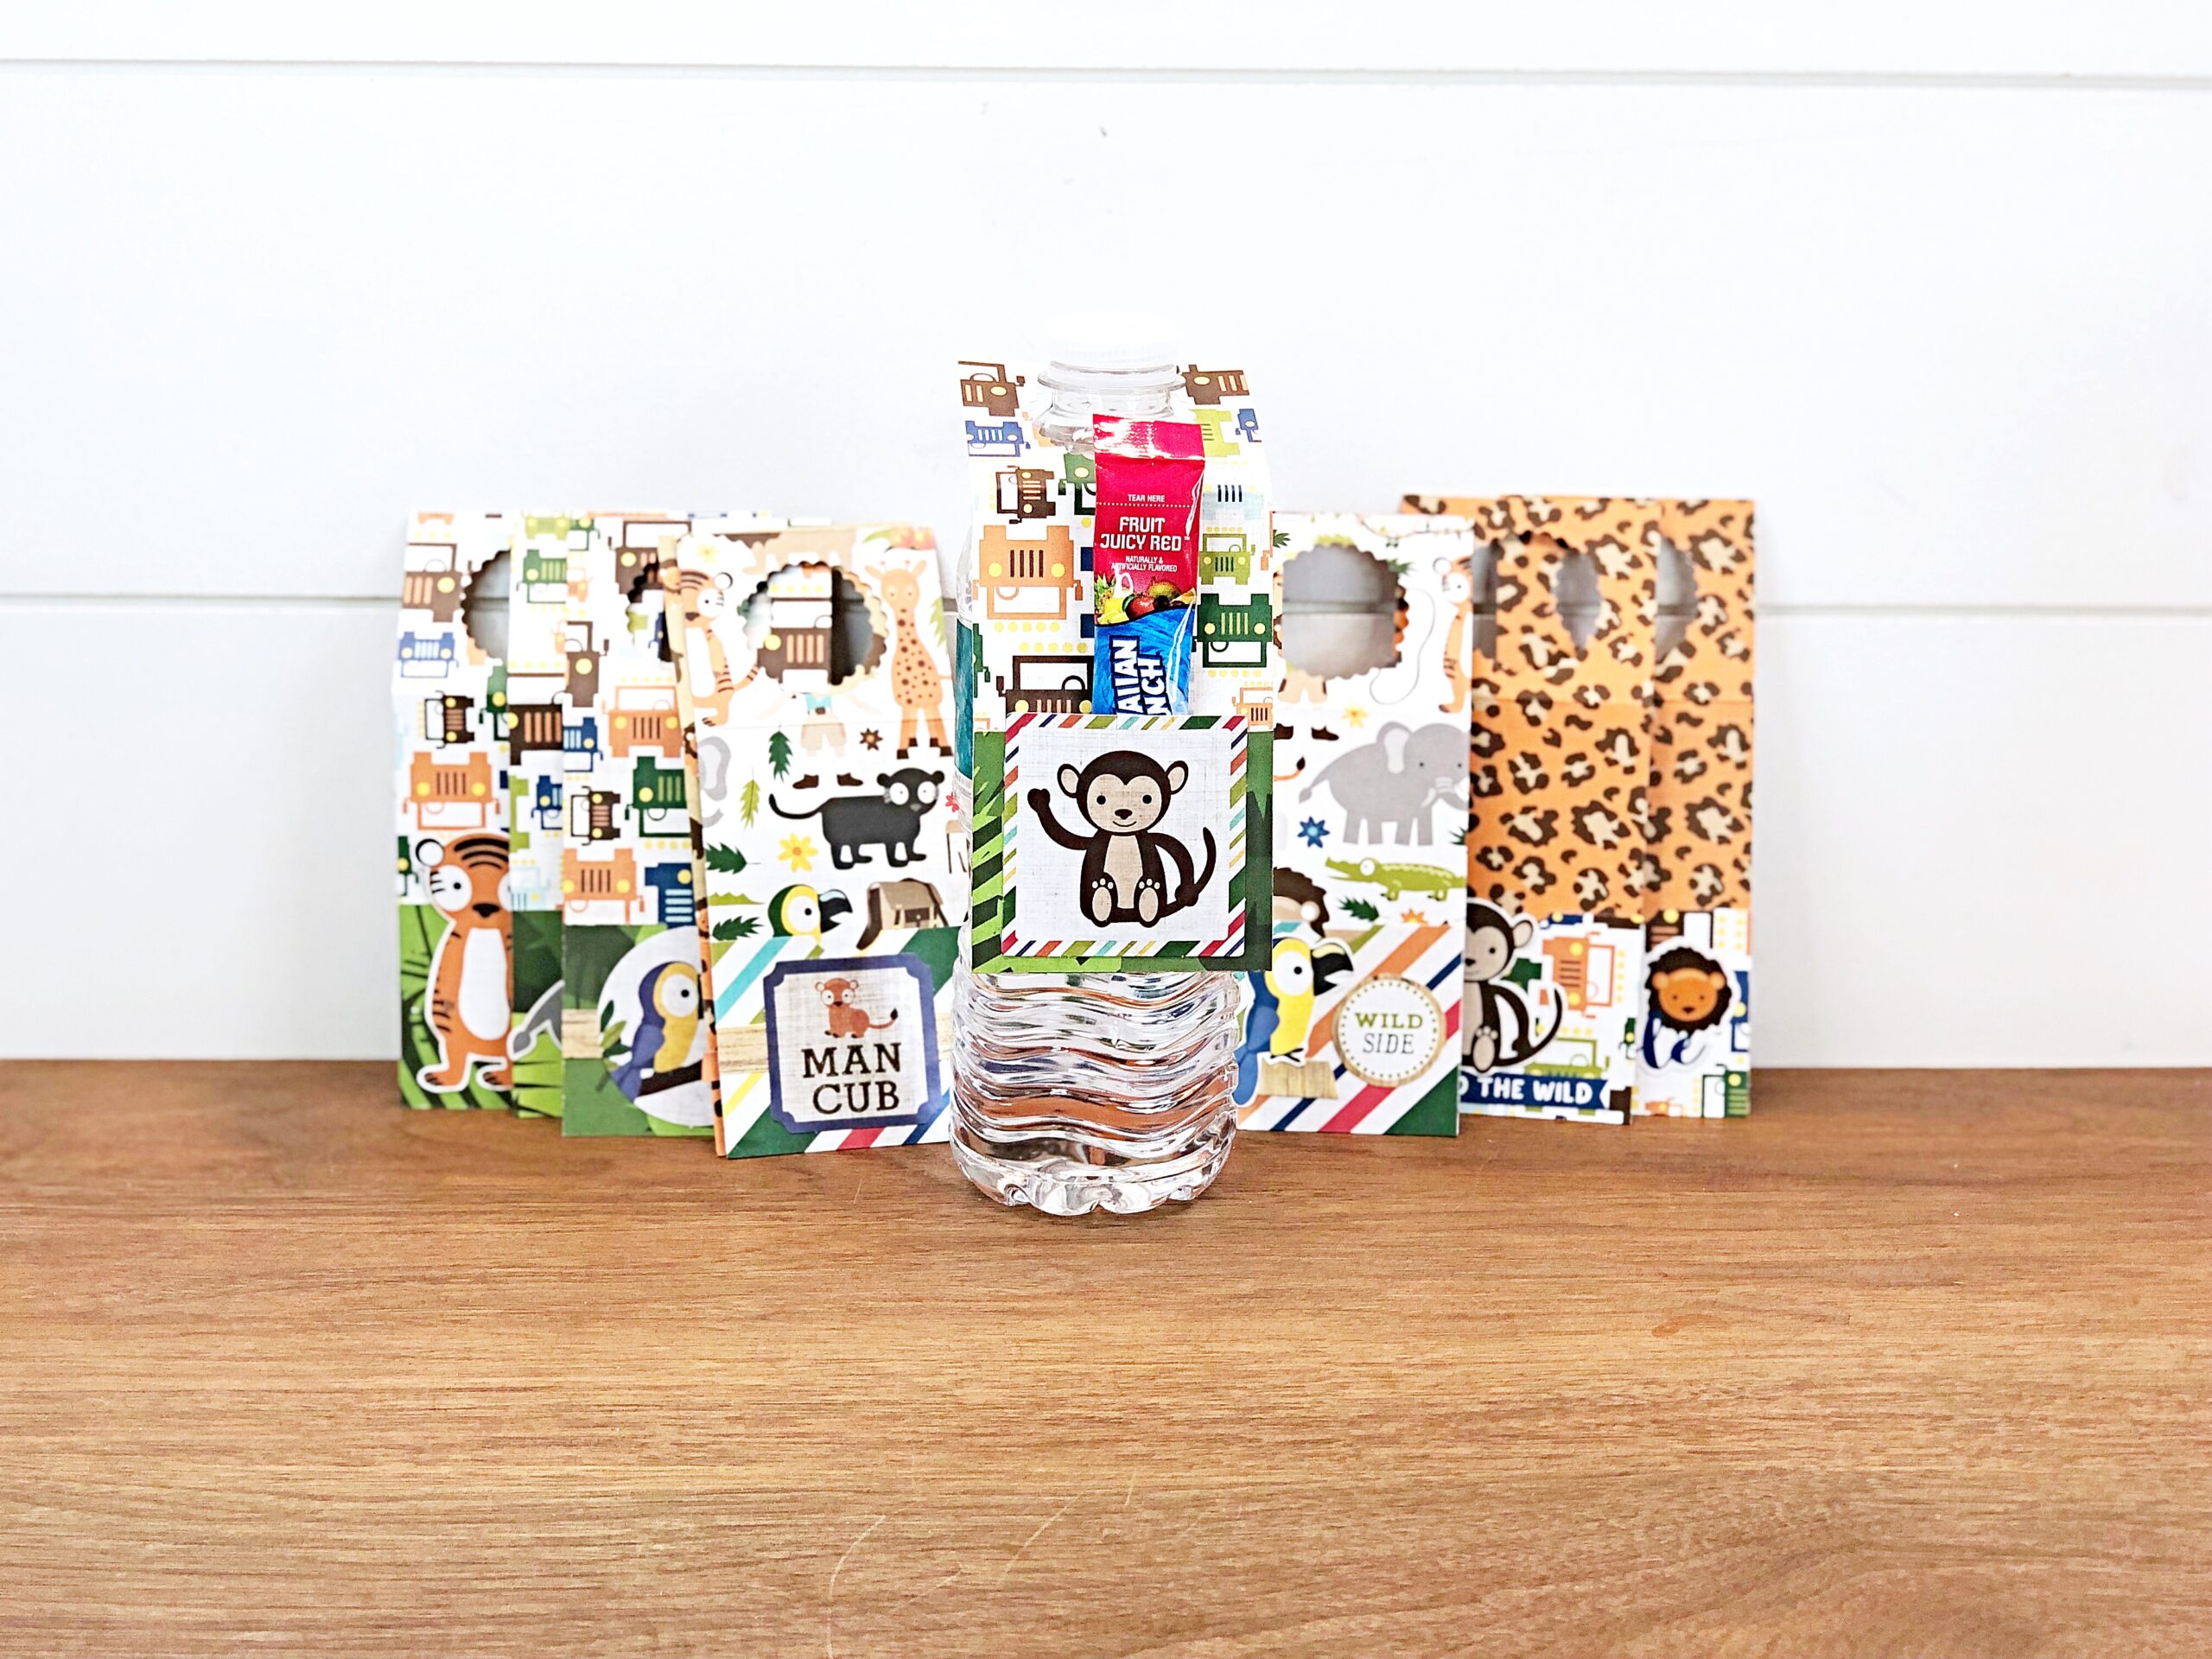
The pockets fit a drink mix pouch (like Crystal Light) perfectly! You could add candy, instant coffee pouches or another treat if you wish!
These are so fun and easy to make and a great way to put your pretty paper to good use!
Have a crafty day!

