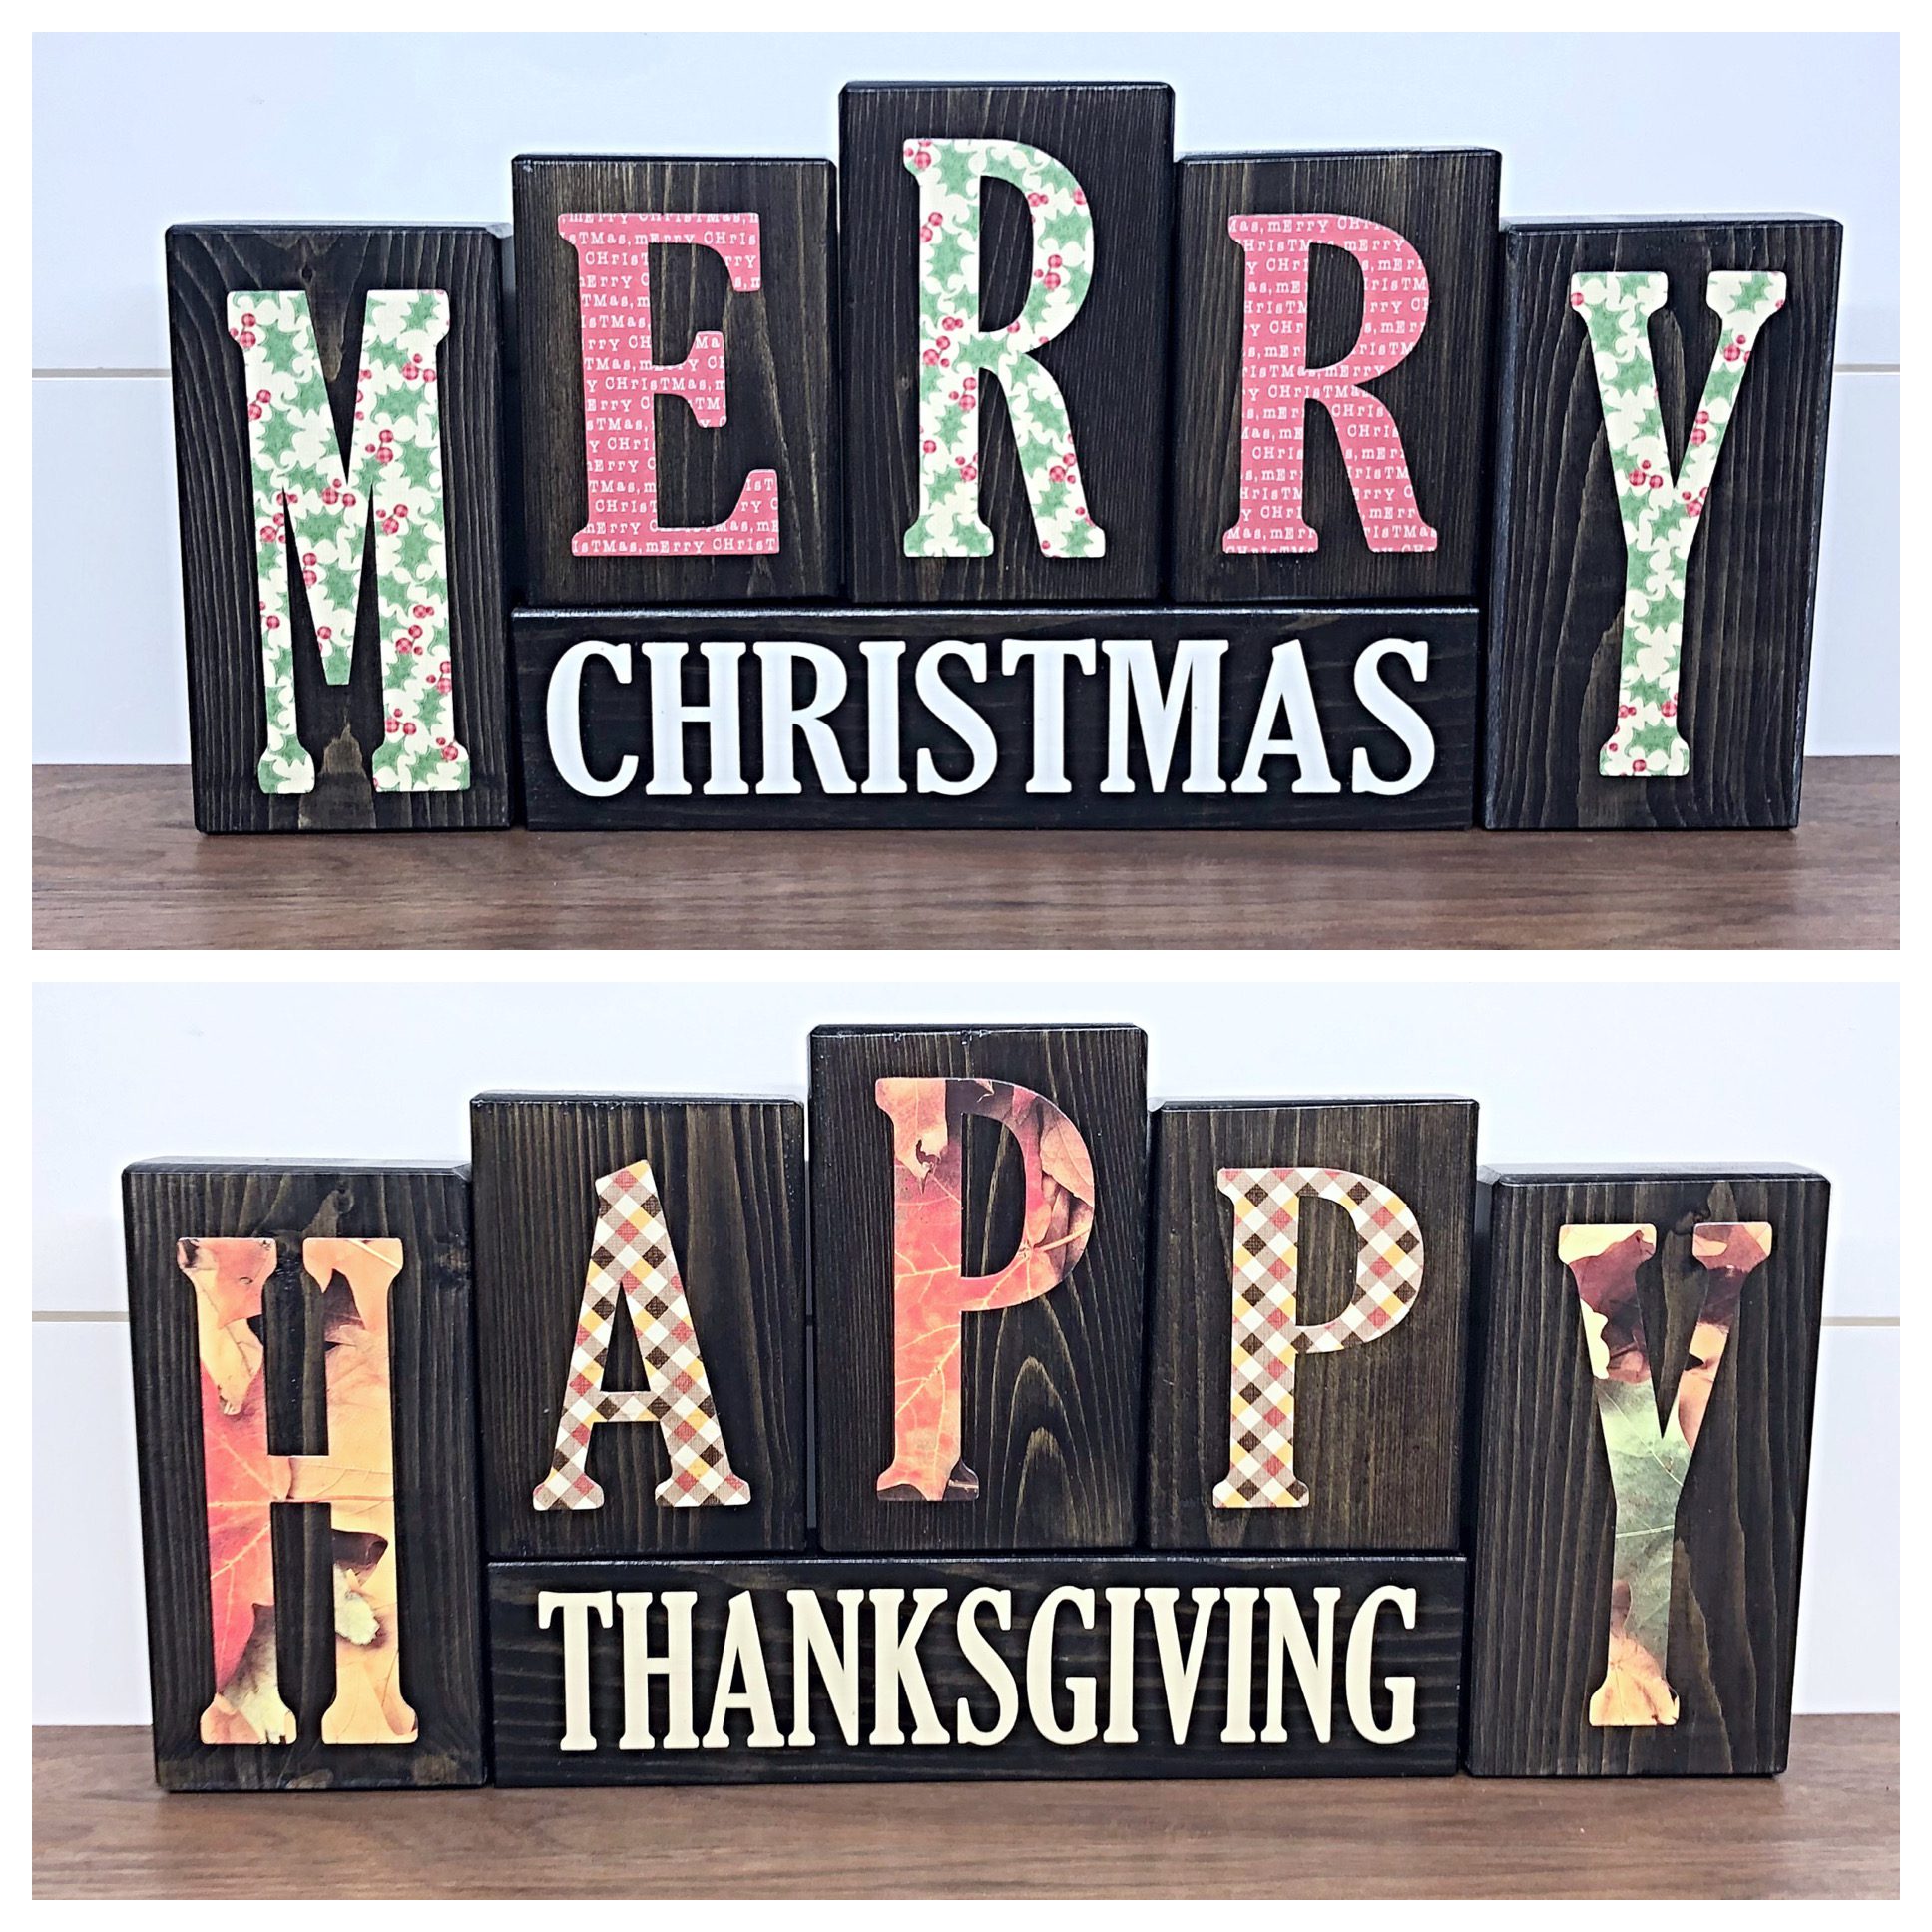
These are the instructions that go along with our holiday letter block set kits. If you don’t already have a kit or your own set, you can find them here.

Once you open your kit, lay out the vertical blocks and lay out one set of letters on them. You will work on one side at a time.
Additional supplies needed:
– Old credit card/gift card, vinyl scraper (can be found at Dollar Tree in the crafting section), stoneware scraper
– something to protect your worksurface (table cloth, wax paper, etc).
If you’d like to follow along with a process video go HERE.
Step 1: Apply a coat of Mod Podge directly to the top of the block that your first letter will be going on. Also apply a light coat of Mod Podge to the back side of the paper letter. The Mod Podge is your glue.
Step 2: Lay your letter onto the block and position it in the center. You should have a little time to shift the letter, if need be, before the glue dries. Smooth the letter out with your finger and then use your scraper tool to smooth out the letter even more. You want to make sure there are no air bubbles in your letter and that the letter adheres smoothly to the wood. If you are using a credit/gift card, be sure to use light pressure so you don’t tear the paper.
Once your letter is adhered smoothly to the front of the block, set this first block aside.
Step 3: Repeat steps 1 and 2 for all of the letters for your first word (only work on one side of the blocks at once).
Step 4: Once all of the letters for the first word have been applied and the blocks are dry, turn the block set over and lay out the letters for your second word.
Step 5: Apply a coat of Mod Podge directly to the top of the block that your first letter will be going on. Also apply a light coat of Mod Podge to the back side of your paper letter.
Step 6: Lay your letter onto the block and position it in the center. Smooth the letter out with your finger and then use your scraper tool to smooth out the letter even more, trying to eliminate any air bubbles.
Step 7: Once your letter is adhered smoothly to your block, apply a coat of Mod Podge over the whole block. This acts as a seal to protect the wood and paper on your block.
Step 9: Remove the backing to one of your vinyl words (there is a clear piece of transfer tape on the top of the letters and there is a white/blue backing sheet behind the letters). If you turn the vinyl word face down and lay it flat while pulling the backing off, it will be easier.
Step 11. Repeat step 10 on the back side of the horizontal block with your second vinyl word.
Step 12: Once the vinyl has been applied to both sides of the horizontal block, apply a coat of Mod Podge over the whole block.
Step 13: Once your Mod Podge from Step 12 is dry on all of the blocks, apply one more coat of the Mod Podge. This just adds one more layer of protection to the blocks. Let dry 24 hours.
Once your Mod Podge has dried for this second coat, you can set your block set up for display or store away. We recommend storing your block set in the box the kit came in to protect them from damage during storage.

 Step 8: Repeat steps 5-7 until all of your letters are adhered to the blocks. Allow Mod Podge to dry thoroughly.
 Step 10: Apply your vinyl and transfer tape to the front of the horizontal block and make sure it’s centered. Use your scraper tool to burnish it down and make sure it sticks to the wood. Remove the transfer tape slowly. Note: If any of your letters start to come up with the transfer tape, press the tape down to the wood again and rub/burnish it with the scraper again.